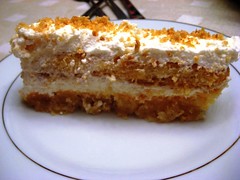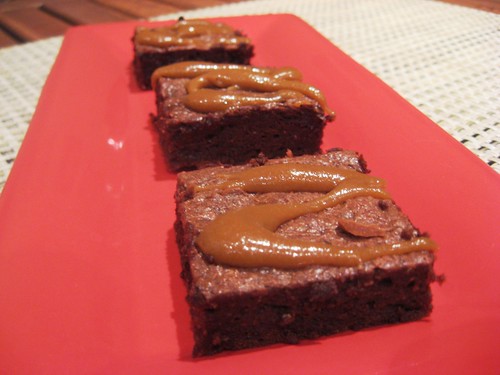
Brownies With Butterscotch Drizzle
Adapted from Glamour's Vitamin G.
* 4 tablespoons (½ stick) unsalted butter, more for buttering the pan
* 2 ounces unsweetened chocolate, chopped
* ¼ cup low-fat sour cream
* ½ cup light brown sugar
* 2 large eggs
* 1 tablespoon vanilla extract
* ½ cup whole-wheat flour
* ¼ teaspoon salt
* ½ cup bittersweet chocolate chunks or chips
* ½ cup butterscotch chips
* 2 teaspoons 1% low-fat milk
Preheat oven to 325°.
Line an 8-inch baking pan with parchment paper.
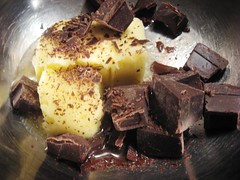
Melt butter with chocolate in a medium saucepan over low heat.
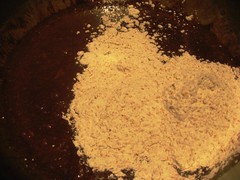
Remove pan from heat, and stir in sour cream, sugars, eggs, and vanilla until well-combined. Stir in flour, salt, and chocolate chips (I added a few spoonfuls of Nutella for extra flavour).
Pour batter into prepared pan.
Bake in middle of oven until a toothpick comes out clean (about 25 minutes).
Baked for 25 minutes only with parchment paper.
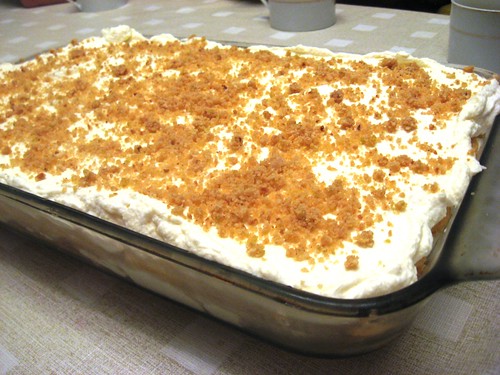
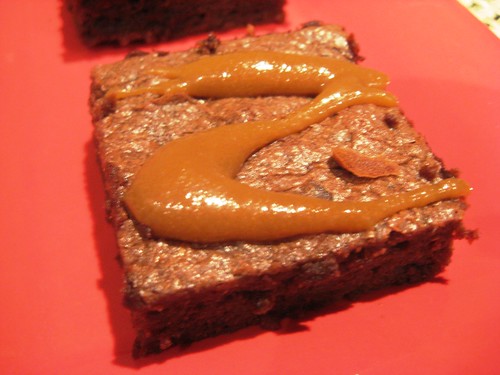
Cool brownies in a pan; cut into 16 squares.
Top each brownie with a drizzle of butterscotch - recipe below.
Tada!

Butterscotch
Adapted from this how-to make butterscotch. I quartered the recipe since you don't need that much to drizzle the brownies. However, make the whole recipe to top ice cream or just enjoy on its own...!
* 1 tablespoons salted butter
* ¼ cup of tightly packed dark brown sugar
* 3-4 tbsp heavy whipping cream (not ultra-pasteurized)
* ¼ tsp vanilla extract
* 1 teaspoon kosher salt
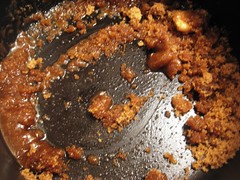
In a small saucepan, melt butter over low to medium heat.
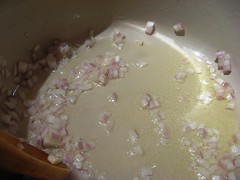
Just before butter is melted, add all dark brown sugar at once and stir with wooden spoon until sugar is uniformly wet (picture 1).
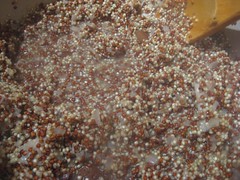
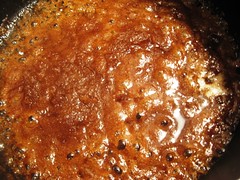
Stir until mixture goes from looking grainy to molten lava (about 3-5 minutes) (picture 2).
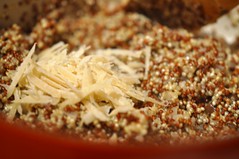
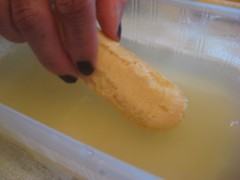
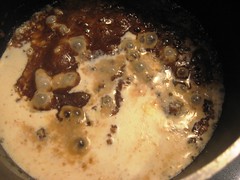
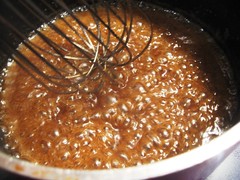
When the caramelizing brown sugar will begin to look and feel more like liquid and less like thick wet sand, add all the cream at once and replace your spoon with a whisk (picture 3).
Lower heat a little and whisk cream into mixture.
When liquid is uniform, turn heat back to medium and whisk every few minutes for a total of 10 minutes (picture 4).
After liquid has been boiling on the stove for its 10 minutes, turn heat off and let rest for a minute or two before transferring into a heatproof storage vessel.
Cool to room temperature.
When butterscotch liquid is room temperature, whisk in vanilla extract.
Taste again, adding more vanilla extract and/or salt until the marvelous taste of real butterscotch is achieved.
Chill butterscotch sauce in a non-reactive container with a tightly fitting lid only after sauce has chilled completely. (It will keep for one month refrigerated.)
Steps to making butterscotch sauce.
The rich butterscotch sauce was a really nice addition to the brownie. It was easy to make as long as you are patient and I can't wait to make it again. I found it also makes a nice visual addition to the brownie. I would definitely make this again!
Low-Calorie Brownies With Butterscotch Drizzle.